Kraken
This guide covers API setup for Kraken Spot. For derivatives, see Kraken Futures — the API key is created from the same Kraken Pro settings page, but spot and futures each need their own key (a spot key won't authenticate to the futures venue and vice versa).
Obtaining the API
Sign in to Kraken Pro and open Settings → API. You can also reach it from the profile icon in the top-right corner: select Settings, then open the API tab.
Scroll to the Spot trading API section and click Create API key.
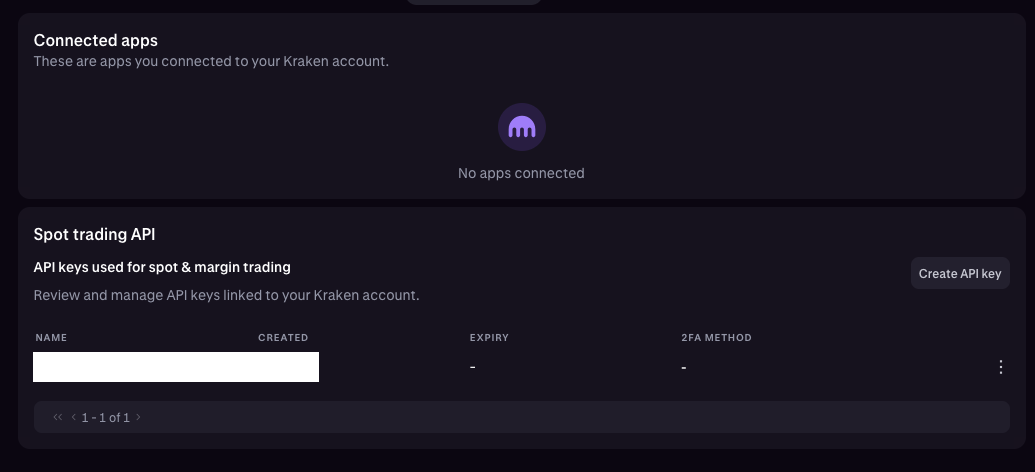
Configure the key
The Add API key dialog opens.
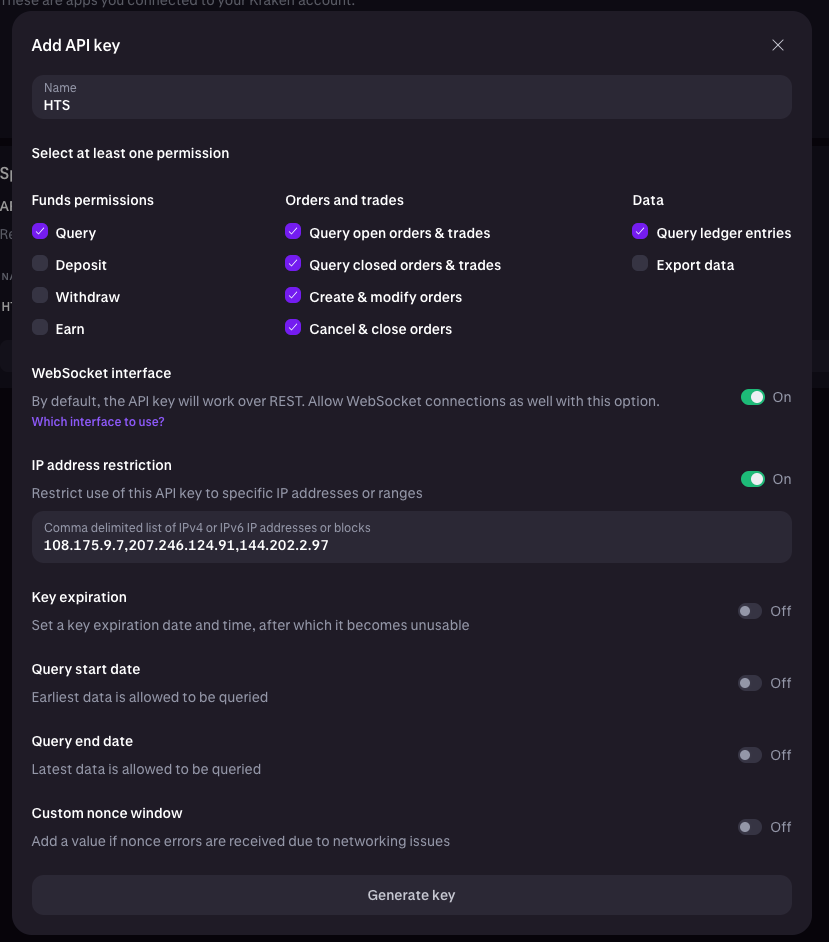
Fill in the Name — any label that identifies this key (e.g. "HTS"). Names must be unique across your Kraken account.
Then select permissions. Kraken lays them out in three columns — enable the items below and leave the rest unchecked:
- Funds permissions
- Query — enable. Required to read balances.
- Deposit — leave disabled.
- Withdraw — leave disabled.
- Earn — leave disabled.
- Orders and trades
- Query open orders & trades — enable.
- Query closed orders & trades — enable.
- Create & modify orders — enable.
- Cancel & close orders — enable.
- Data
- Query ledger entries — enable.
- Export data — leave disabled.
Danger
Do not enable Withdraw. HaasOnline never needs withdrawal permission to trade on your behalf. Enabling it means a leaked API key could drain your Kraken account — a trading-only key limits the blast radius to trades on your existing balances.
Below the permissions, configure the toggles:
- WebSocket interface — turn On. By default the key is REST-only; HaasOnline uses Kraken's WebSocket feed for live market data, so this needs to be enabled.
- IP address restriction — turn On and paste the IP address(es) into the Comma delimited list of IPv4 or IPv6 IP addresses or blocks field. See the IP note below.
- Key expiration — optional. Sets a date after which the key automatically stops working. Useful if you want to force a periodic rotation.
- Query start date / Query end date — optional. Restrict the historical range the key can query.
- Custom nonce window — leave Off unless you hit nonce errors from networking lag.
Info
For IP address restriction:
- If you are running an TradeServer license, use the IP address of your machine/server
- If you are trading on HaasOnline TradeServer Cloud, enter the IP address shown in the HaasOnline UI during exchange account setup
Click Generate key.
Verify with 2FA
Kraken prompts you to confirm the action with your authenticator app.
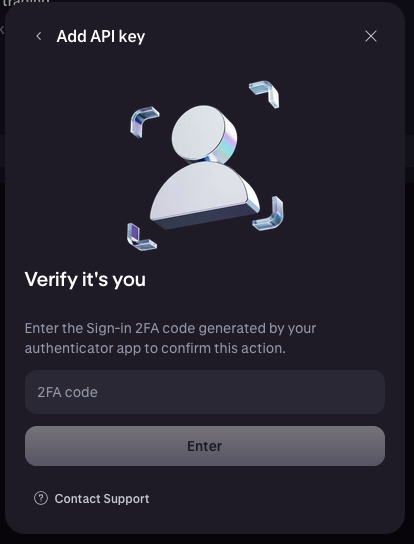
Enter the 6-digit code from your authenticator app and click Enter.
Copy the keys
The API key created view opens with both credentials:
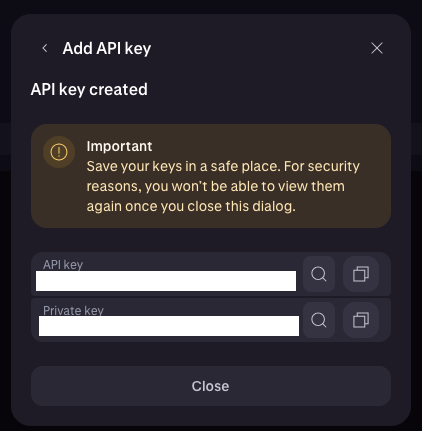
Copy both values immediately:
- API key — the public identifier.
- Private key — used to sign requests.
Danger
Save both values before closing this dialog. Kraken does not show them again after you close it. If you lose either value, you'll have to delete the key and create a new one.
Click Close once both are saved.
Adding the API to HaasOnline TradeServer Cloud
Log in to TradeServer Cloud.
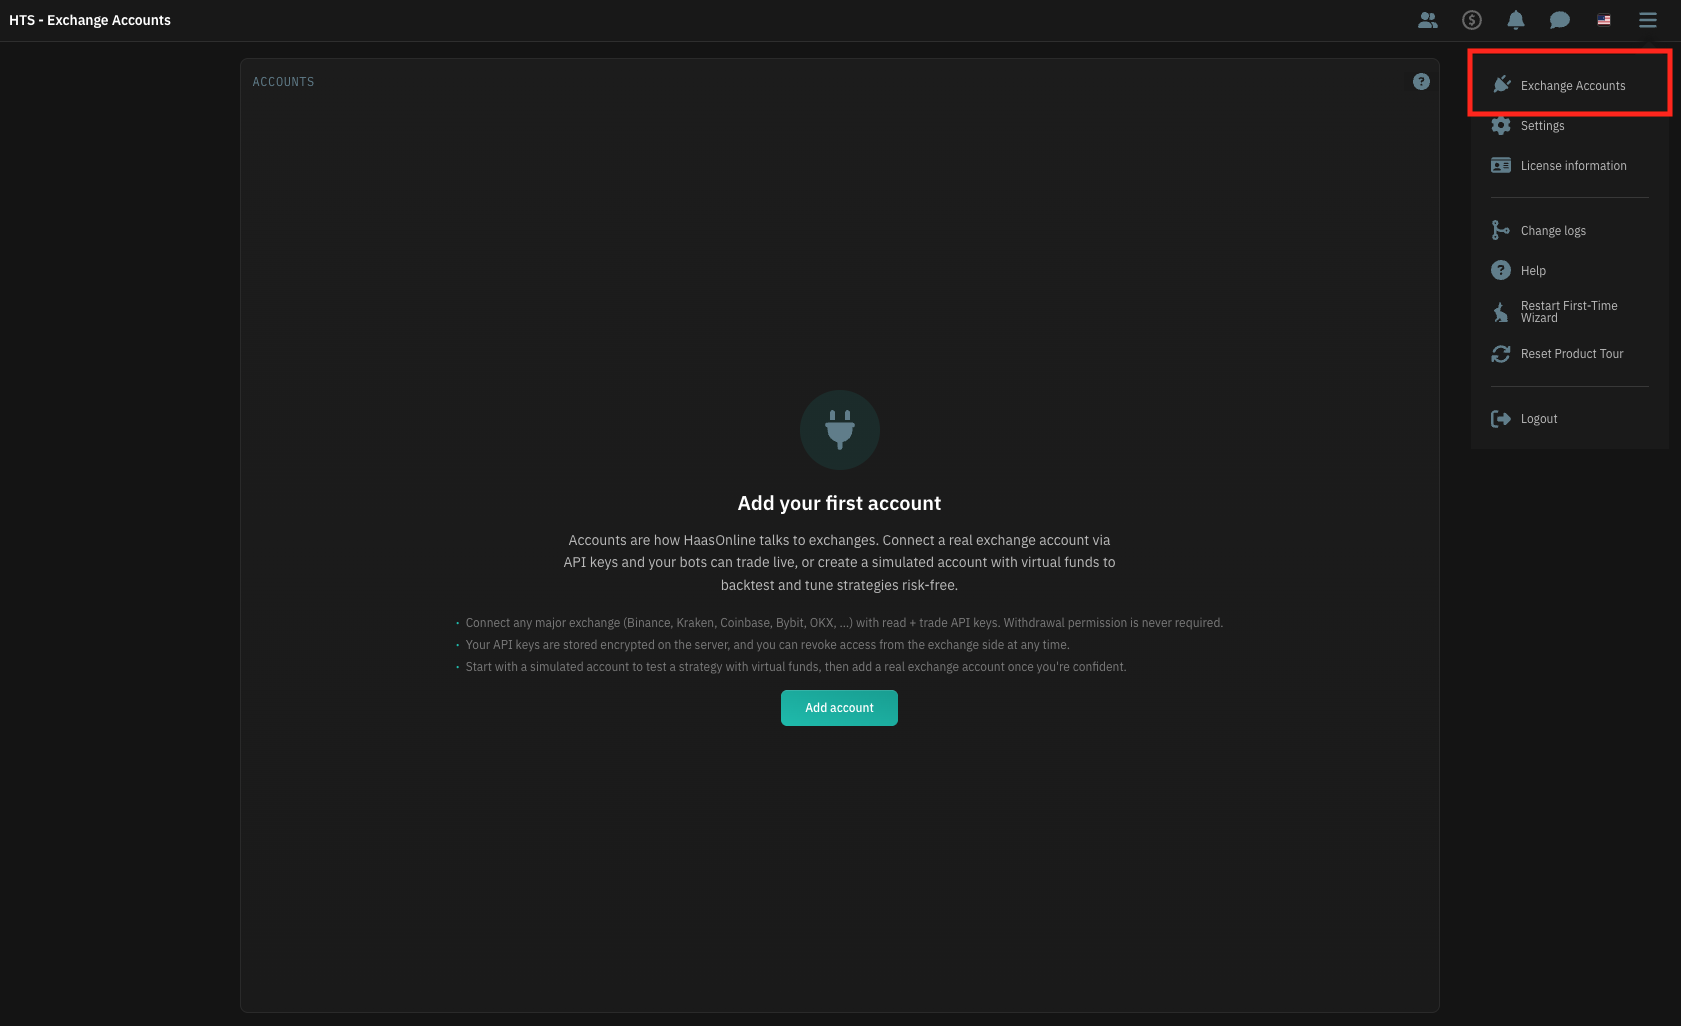
Click on the user menu icon in the top right and select Exchange Accounts.
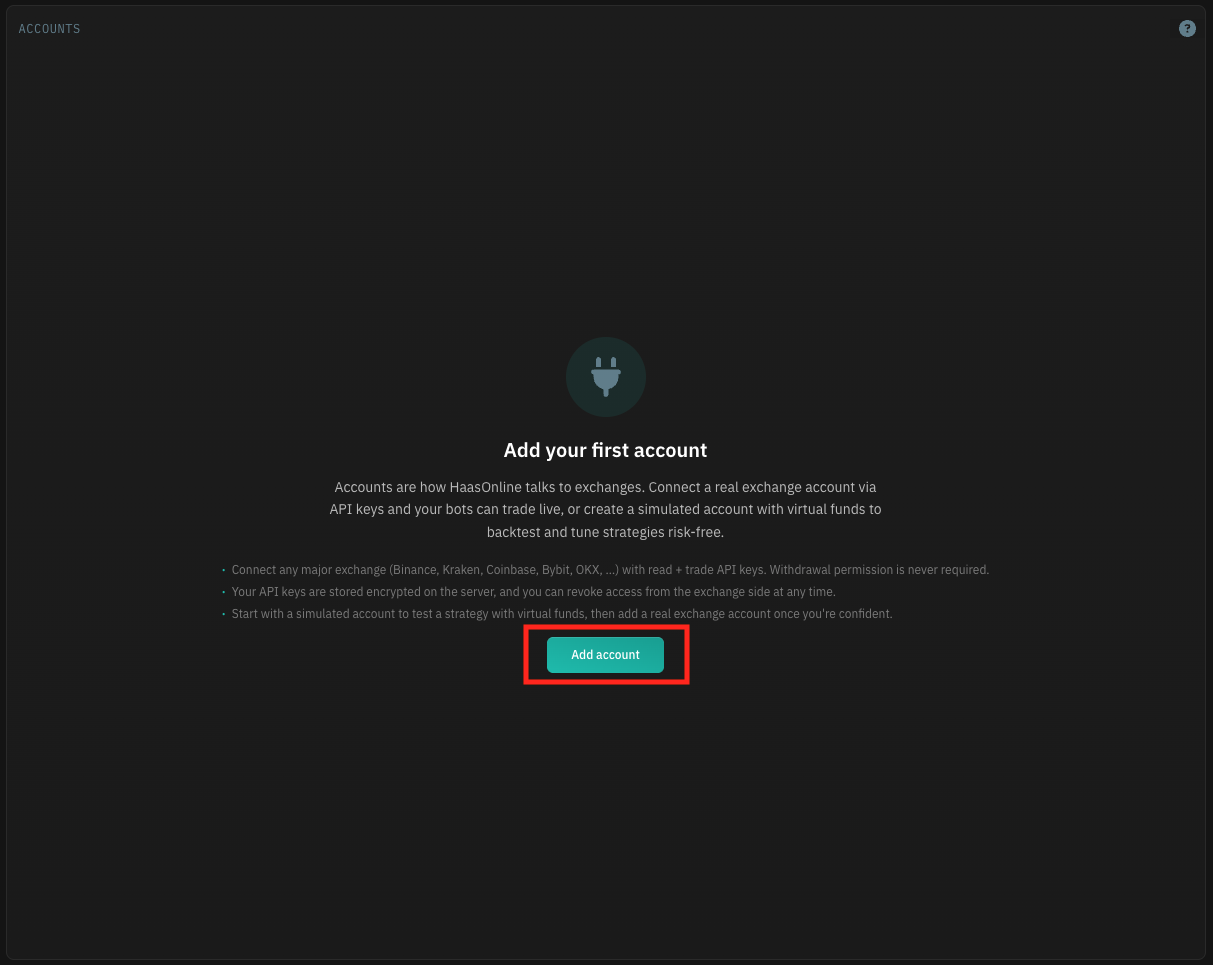
Click Add account.
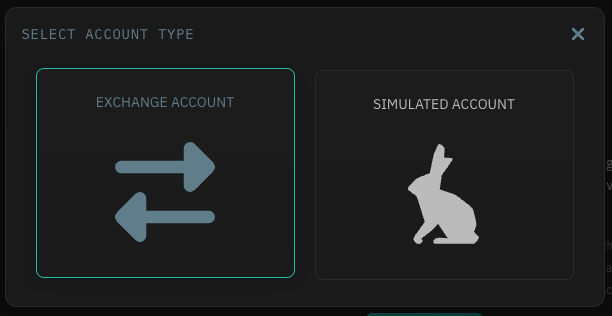
Select Exchange Account.
From the list of supported exchanges, choose Kraken. The Kraken account setup panel opens.
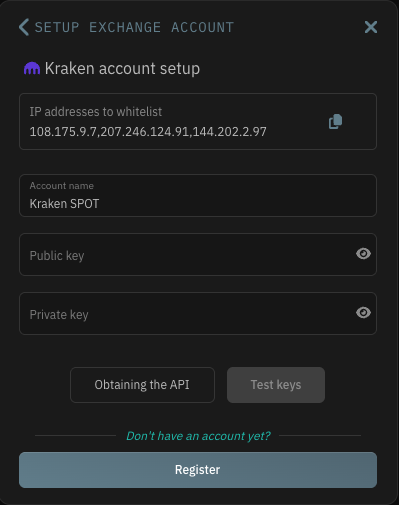
At the top of the panel, the IP addresses to whitelist field shows the Cloud IPs you should paste into Kraken's IP address restriction when creating the key. Use the copy icon to grab them.
Enter an Account name, then paste the values from Kraken:
- Public Key → the Kraken
API key - Private Key → the Kraken
Private key
Info
Check for stray spaces at the start and end of the API key and Private key after pasting — they're a common source of "invalid credentials" errors.
Once the fields are filled in, the TEST KEYS button becomes active. Click it. If the test passes, click Submit to add the account to the platform.